Are you ready to dive into the world of airbrushing? Mastering the assembly of a Campbell Hausfeld airbrush gun is an essential step in achieving professional-quality results. Whether you're a beginner or an experienced artist, understanding the process ensures precision and efficiency. In this article, we will guide you through assembling your airbrush gun step by step, helping you achieve flawless finishes every time.
Airbrushing has become increasingly popular across various industries, from automotive painting to cake decorating and makeup artistry. Campbell Hausfeld, a trusted name in pneumatic tools, offers high-quality airbrush guns that cater to both hobbyists and professionals. Their products are designed with durability and performance in mind, making them a go-to choice for enthusiasts.
This article aims to provide a detailed and easy-to-follow guide on assembling a Campbell Hausfeld airbrush gun. By the end of this guide, you'll have the confidence to set up your airbrush gun and start creating masterpieces. Let's get started!
Read also:Annabelle The True Story Of The Infamous Doll That Terrified The World In 1960
Table of Contents:
- Biography of Campbell Hausfeld
- Tools Needed for Assembly
- Step-by-Step Guide to Assemble the Airbrush Gun
- Common Issues During Assembly
- Maintenance Tips for Your Airbrush Gun
- Safety Precautions
- Comparison with Other Brands
- Airbrush Techniques to Master
- Benefits of Using Campbell Hausfeld Airbrush Guns
- Conclusion
Biography of Campbell Hausfeld
Campbell Hausfeld is a renowned brand in the world of pneumatic tools and airbrushing equipment. Established in the United States, the company has been delivering innovative and reliable products for decades. Below is a brief overview of the brand's history and achievements:
| Founded | 1947 |
|---|---|
| Headquarters | Fort Wayne, Indiana, USA |
| Products | Airbrush guns, air compressors, nailers, and more |
| Market | Global |
| Notable Features | Innovative designs, durability, and user-friendly features |
Campbell Hausfeld has consistently been at the forefront of technological advancements in pneumatic tools, ensuring their products meet the highest standards of quality and performance.
Tools Needed for Assembly
Essential Tools
Before assembling your Campbell Hausfeld airbrush gun, ensure you have the following tools and materials:
- Screwdriver (Phillips and flathead)
- Hex key set (if required by your model)
- Clean lint-free cloth
- Small container for parts
- Owner's manual (for reference)
Having these tools readily available will make the assembly process smoother and more efficient.
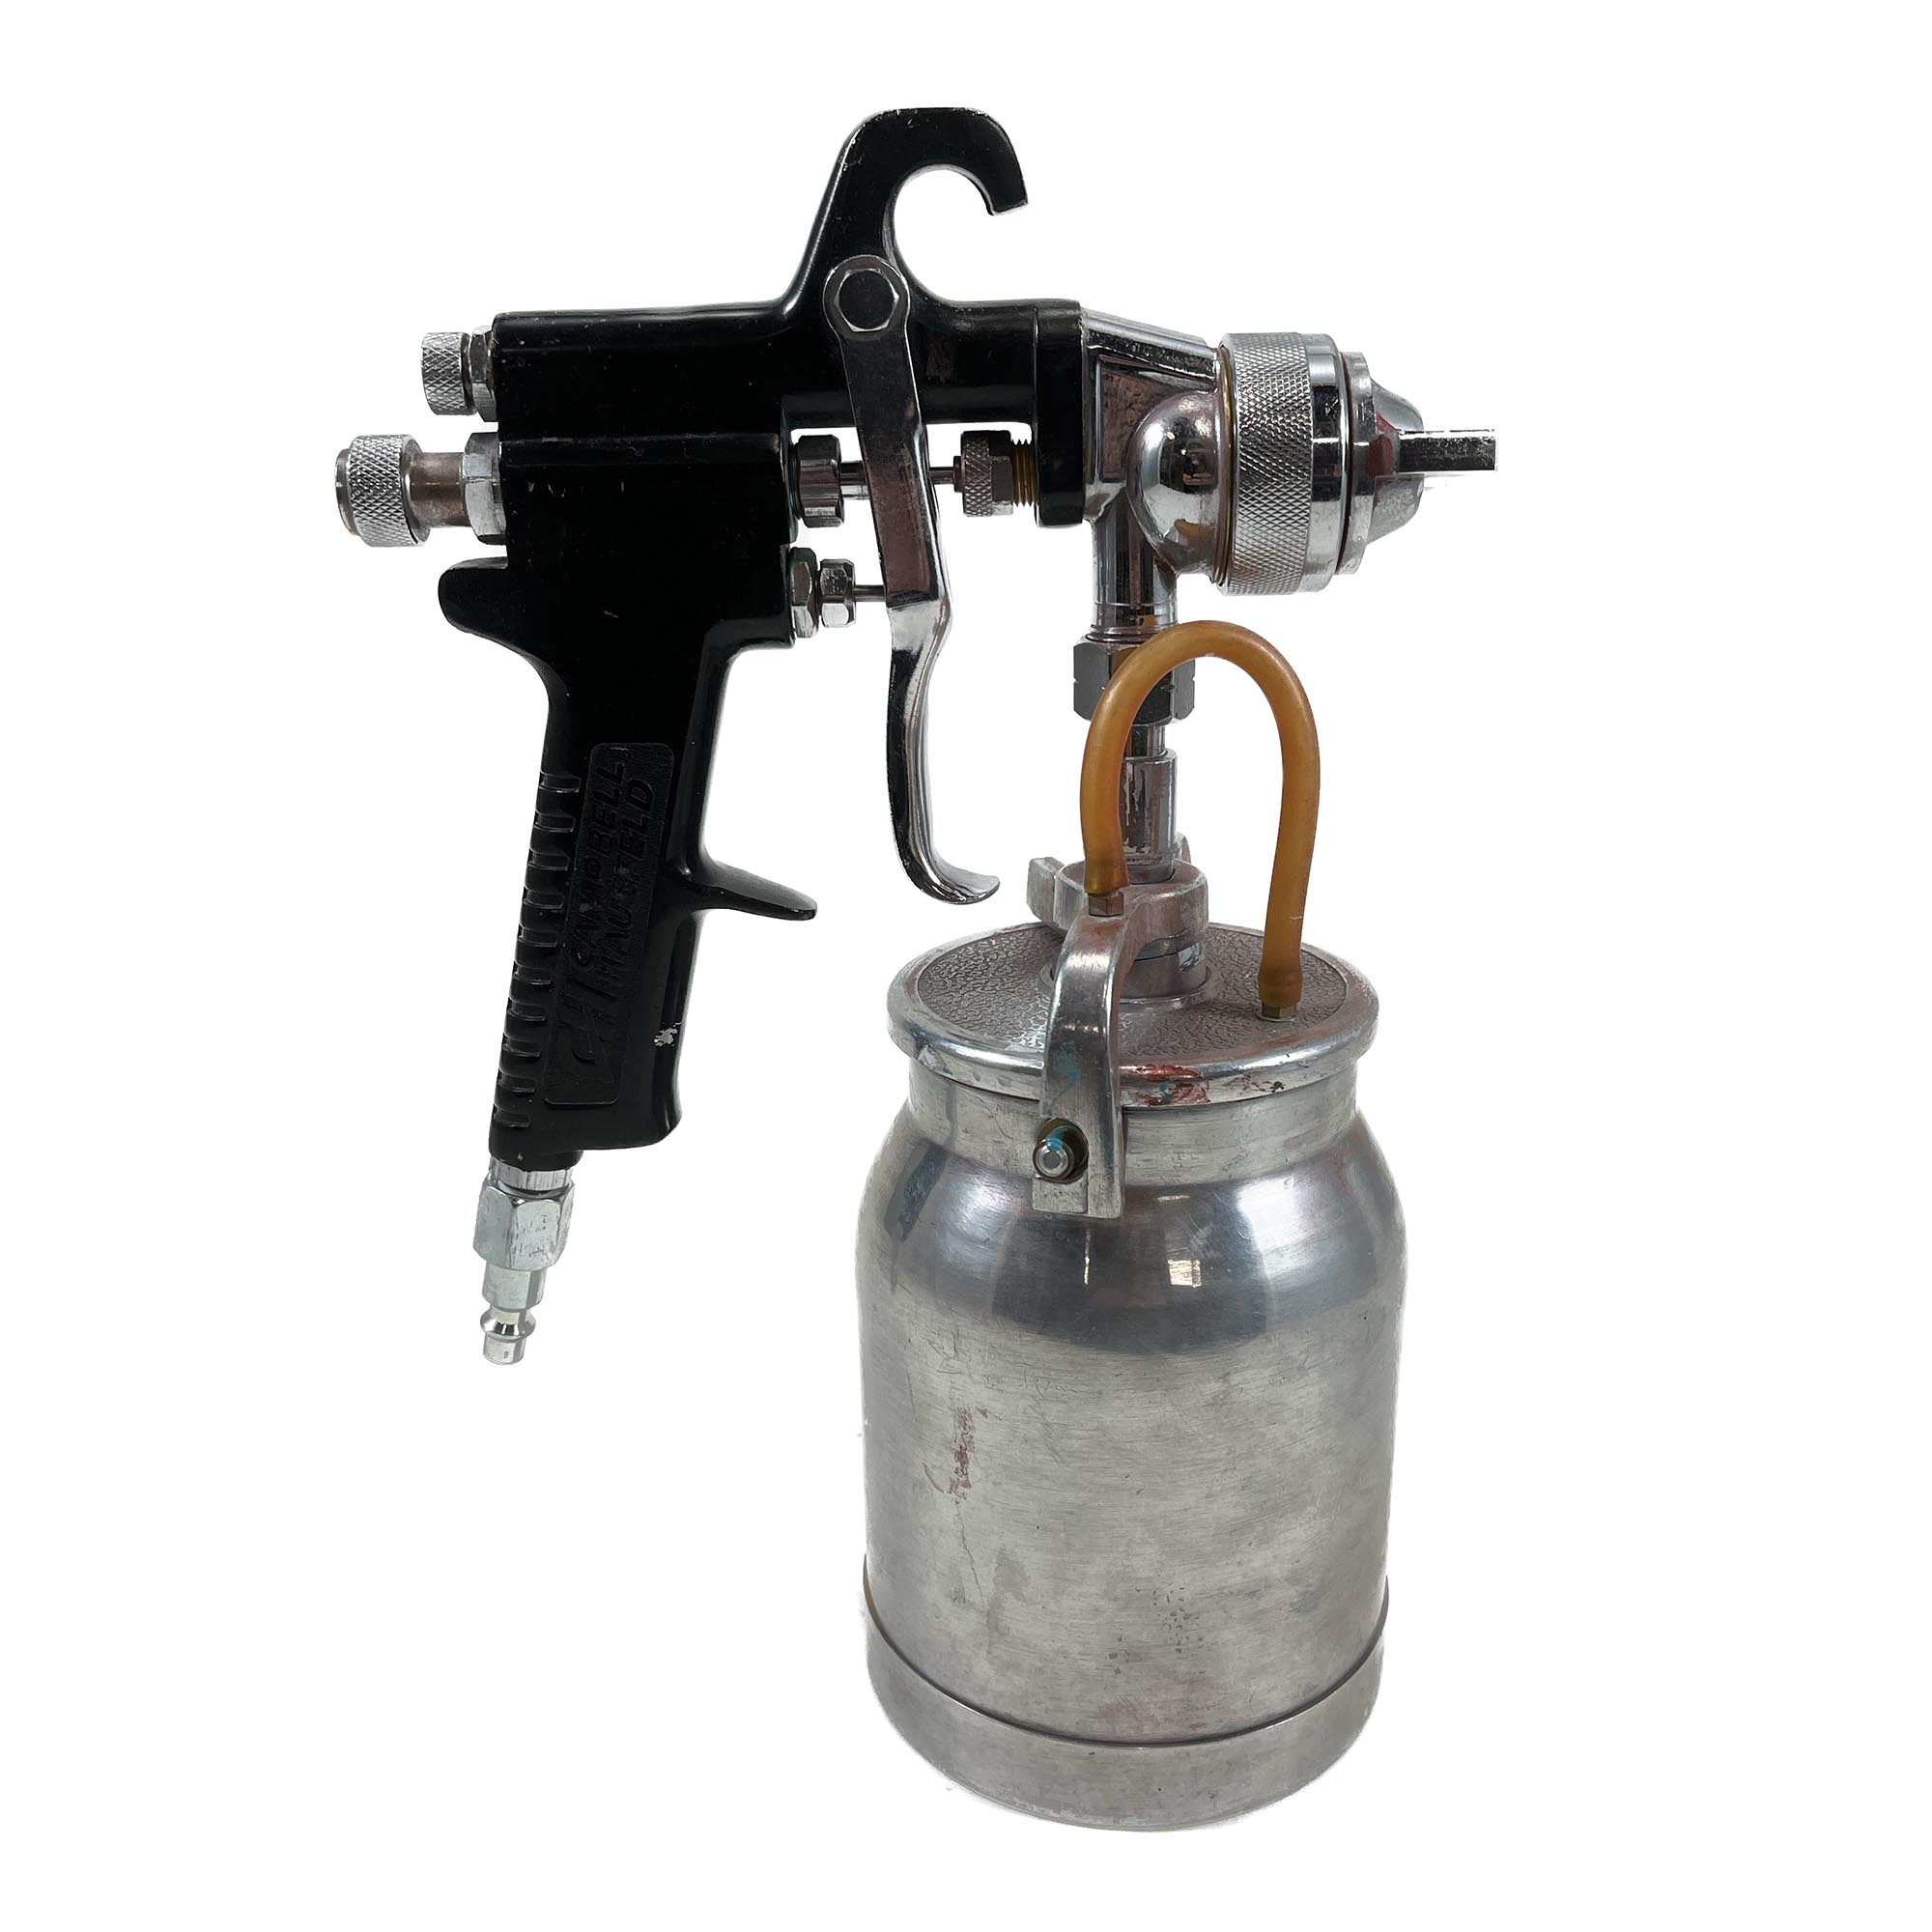
Step-by-Step Guide to Assemble the Airbrush Gun
Step 1: Unpacking the Airbrush Gun
Begin by carefully unpacking the airbrush gun and all its components. Ensure that all parts are present and undamaged. Refer to the user manual for a complete list of included items.
Read also:Ashley Leggat Relationships Unveiling The Personal Life Of A Rising Star
Step 2: Attaching the Air Hose
Connect the air hose to the airbrush gun's air inlet. Make sure the connection is secure but not overtightened, as excessive force can damage the fitting. According to the Campbell Hausfeld manual, the ideal torque for this step is 15-20 inch-pounds.
Step 3: Installing the Needle Assembly
Insert the needle assembly into the barrel of the airbrush gun. Align the needle with the nozzle carefully to ensure smooth operation. This step is crucial for achieving consistent spray patterns.
Step 4: Adjusting the Trigger Mechanism
Adjust the trigger mechanism to your preferred settings. Most Campbell Hausfeld airbrush guns allow for customization of trigger tension and spray volume. Experiment with different settings to find what works best for your project.
Step 5: Testing the Airbrush Gun
Once assembled, test the airbrush gun in a well-ventilated area. Start with a light mist of air to ensure proper function. Gradually increase the pressure and test the spray pattern on a scrap material before working on your actual project.
Common Issues During Assembly
While assembling a Campbell Hausfeld airbrush gun is generally straightforward, some users may encounter minor issues. Below are common problems and their solutions:
- Leaking Air: Check all connections and tighten them as needed. Ensure the O-rings are intact and properly seated.
- Clogged Nozzle: Clean the nozzle thoroughly using the provided cleaning needle. Avoid using harsh chemicals that may damage the components.
- Inconsistent Spray: Verify that the needle and nozzle are aligned correctly. Adjust the trigger settings if necessary.
Maintenance Tips for Your Airbrush Gun
Proper maintenance is key to extending the lifespan of your Campbell Hausfeld airbrush gun. Follow these tips to keep your tool in top condition:
- Clean the airbrush gun after each use to prevent paint buildup.
- Store the gun in a dry, dust-free environment.
- Periodically inspect all parts for wear and tear, replacing any damaged components promptly.
Safety Precautions
Safety should always be a priority when working with pneumatic tools. Here are some safety tips to keep in mind:
- Wear appropriate protective gear, including goggles and gloves.
- Work in a well-ventilated area to avoid inhaling paint fumes.
- Follow the manufacturer's instructions for operation and maintenance.
Comparison with Other Brands
Campbell Hausfeld airbrush guns stand out due to their durability, ease of use, and affordability. Compared to other brands, such as Paasche and Badger, Campbell Hausfeld offers a great balance of quality and price. While premium brands may offer additional features, Campbell Hausfeld remains a reliable choice for most users.
Airbrush Techniques to Master
Once you've successfully assembled your Campbell Hausfeld airbrush gun, it's time to learn some essential techniques:
- Layering: Build up colors gradually to achieve depth and dimension.
- Masking: Use stencils or masking tape to create sharp edges and precise shapes.
- Blending: Experiment with overlapping colors to create smooth transitions.
Benefits of Using Campbell Hausfeld Airbrush Guns
There are numerous advantages to choosing a Campbell Hausfeld airbrush gun:
- High-quality construction ensures longevity.
- User-friendly design makes assembly and operation effortless.
- Competitive pricing without compromising on performance.
Conclusion
Assembling a Campbell Hausfeld airbrush gun is a straightforward process that can be mastered with the right guidance. By following the steps outlined in this article, you can confidently set up your airbrush gun and begin creating stunning projects. Remember to prioritize safety, maintain your equipment regularly, and practice various techniques to enhance your skills.
We encourage you to share your experiences and tips in the comments section below. Additionally, explore our other articles for more insights into airbrushing and related topics. Happy creating!